
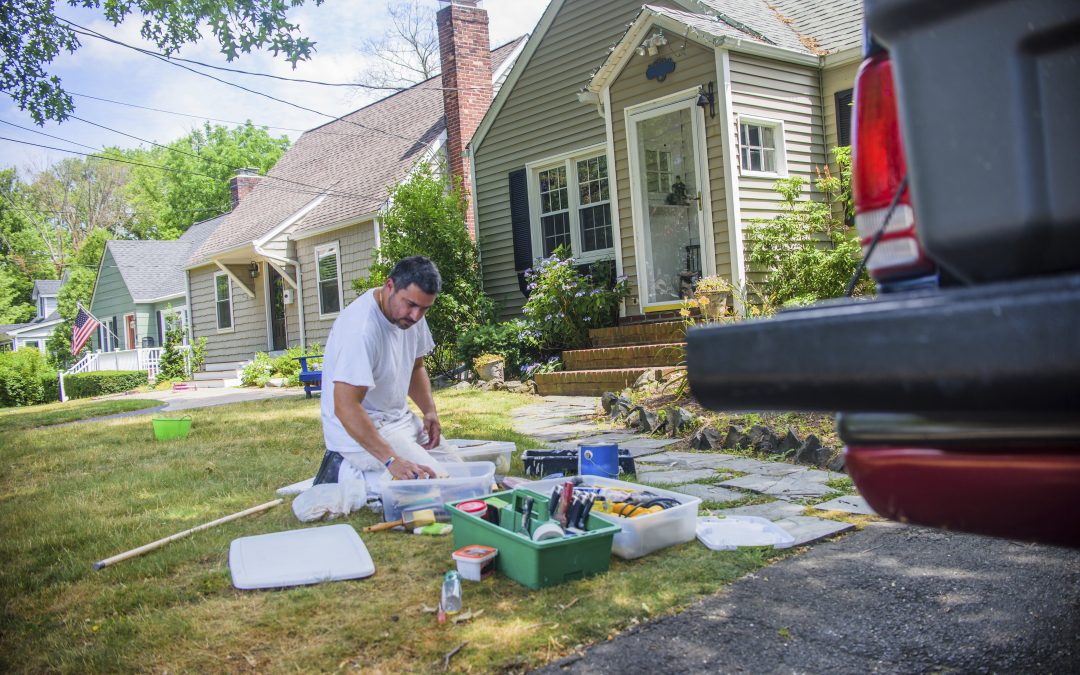
Most homeowners think the hardest part of exterior painting is picking the color. It's not. It's the prep work — and it happens before a single brush touches your siding.
A paint job is only as good as the surface underneath it. Skip the prep, and you're essentially painting over problems. The finish might look fine for a season, then start peeling, cracking, or bubbling in ways that are frustrating and expensive to fix. Do it right the first time, and a quality exterior paint job in Canton can last seven to ten years without much thought.
April is a great window to get this done. Temperatures are climbing, conditions are drying out, and you still have time to finish before summer. Here's exactly what goes into getting your home's exterior ready — whether you're hiring a professional painter or just want to understand the process before making any calls.
Start with a serious walkthrough
Before anything else, walk the full perimeter of your home and look closely. Not a glance — a real inspection. Get low, look up, and check areas you normally ignore.
You're looking for a few specific things. Peeling or flaking paint is the obvious one, but also look for hairline cracks in the caulking around windows, doors, and trim. Check wood surfaces for soft spots or discoloration that suggest moisture has gotten in. Look at the siding seams and any areas where two materials meet — those joints are where water finds its way in first.
Take photos as you go. If you're getting estimates from a painting company, those photos help the conversation and make sure nothing gets missed when the crew shows up.
Pressure washing is non-negotiable
Painting over dirt, mildew, or chalky old paint is one of the most common mistakes on exterior projects. It ruins adhesion. The new paint won't bond to a contaminated surface, no matter how good the product is.
A thorough pressure wash removes surface grime, mildew buildup, loose paint particles, and the chalky residue that develops on older painted surfaces over time. In Canton, where homes go through real winters, that residue is almost always present by April.
The surface then needs to dry completely before painting begins — usually 24 to 48 hours depending on weather. Rushing this step causes problems. Moisture trapped under fresh paint is a reliable way to cause early failure.
If you're doing any of the prep yourself before a painter arrives, pressure washing is a reasonable task to handle on your own. Just be careful around windows, vents, and any areas where water forced under the siding could cause damage.
Scrape and sand what the water leaves behind
Pressure washing removes loose material, but it won't pull off paint that's still partially attached and failing. Those areas need to be scraped by hand, then sanded smooth so the surface is even.
This is tedious work and easy to rush. It matters a lot. Any spot where old paint is peeling and not fully removed becomes a problem area within a year or two. Water gets under the edges, the peel spreads, and eventually you're looking at bare wood exposed to the elements.
After scraping, sand the edges of any stripped areas so there's no sharp lip between bare surface and intact paint. A feathered edge gives the new paint something to blend into cleanly.
Repair before you prime
Once the surface is clean and any loose material is removed, deal with actual damage before priming anything.
Wood rot is the big one. Soft, spongy wood needs to be addressed — either replaced entirely or filled with an exterior wood filler, depending on the extent. Small areas can often be repaired with filler and sanded flush. Larger sections of rotted trim or siding should be replaced. Painting over rot doesn't fix rot. It hides it temporarily while the problem gets worse underneath.
Caulking is the other critical repair. Old caulk shrinks, cracks, and pulls away from surfaces over time. Every gap around windows, door frames, trim boards, and where siding meets other materials needs fresh caulk. This is a sealant layer that prevents water intrusion — and it's cheap insurance against water damage that costs far more to repair later.
Use a paintable exterior caulk and apply it in one clean bead. Smooth it before it skins over. Let it cure according to the product instructions before painting over it.
Priming: when it's required and why it matters
Not every exterior paint job requires a full prime coat, but bare wood absolutely does. Any area where you've scraped down to bare surface, made wood repairs, or replaced sections of siding or trim needs primer before the finish coat goes on.
Primer seals the surface, improves adhesion, and prevents tannins in raw wood from bleeding through and staining the finish coat. Skipping primer on bare wood is a shortcut that shows up in the final result — uneven sheen, color variation, and faster wear in those spots.
For surfaces that are in good condition and just need a color refresh, a quality self-priming exterior paint can often handle the job in two coats. Your painter can advise based on actual surface conditions.
Handle the details around windows, doors, and fixtures
Before painting begins, exterior light fixtures, house numbers, mailboxes, and any hardware that can be removed should come off or be masked carefully. These small details separate a clean, professional result from one that looks rushed.
Shutters, if you have them, are worth removing entirely for painting rather than masking around. It's faster to paint them flat and gives a cleaner edge where they meet the siding.
Check window glazing — the compound that holds glass in older wood windows. If it's cracking or missing in spots, now is the time to reglaze and let it cure before painting. It's a small task that makes a noticeable difference in the finished look.
Talk to your painter before they arrive
If you're working with Trusted Canton Painters, a lot of this prep process is handled as part of the job. Still, there are things worth discussing upfront: which areas concern you most, whether there are known moisture issues in specific spots, and what your expectations are for the finished result.
Color selection should also happen before the crew shows up, not the morning of. If you're unsure about color, Sherwin-Williams has sample sizes you can test on an inconspicuous section of your home's exterior to see how a color reads in actual daylight before committing. Colors look very different on a small chip than they do on a full wall.
The more prepared you are going into the project, the smoother it goes — for you and for the crew.
April in Canton is a short window of ideal conditions. The ground is thawed, temperatures are reasonable, and you still have lead time before summer fills up painting schedules. If your home's exterior is overdue for attention, there's no better month to start.
Call Trusted Canton Painters at 234-262-9070 for a free estimate. We’ll assess your surface conditions, walk you through what the project involves, and give you a clear price with no surprises.
Frequently Asked Questions:
How far in advance should I schedule exterior painting in Canton?
April and May book up faster than most homeowners expect. If you want the work done in spring, reach out for an estimate in early April — or even late March. Scheduling two to three weeks out gives you flexibility on timing and color decisions.
Can I do the prep work myself to save money?
Some of it, yes. Pressure washing and basic scraping are tasks a handy homeowner can handle. However, wood rot repair, recaulking, and priming bare surfaces are easy to underdo, and mistakes in prep show up in the final paint job. Most homeowners find that full-service prep is worth the cost.
What happens if it rains during the project?
A professional crew will monitor the forecast and work around it. Painted surfaces need dry conditions to apply and cure. If rain interrupts the schedule, work pauses until conditions are right. This is normal and doesn't hurt the finished result.
How do I know if I have wood rot and what it costs to repair?
Soft spots when you press a screwdriver into wood trim or siding are a sign of rot. During a free estimate, Trusted Canton Painters will identify any damaged areas and include repair work in the project scope so you know the full cost upfront.
What's the difference between one coat and two coats of exterior paint?
Two coats provide better coverage, richer color, and a finish that holds up significantly longer. On most exterior projects, two coats are the standard — one on top of a single coat won't have the same depth or durability, especially in a climate like Northeast Ohio's.
How long does exterior paint take to cure fully?
Paint may feel dry to the touch within hours, but full cure takes longer — sometimes up to 30 days depending on the product and conditions. Avoid pressure washing or scrubbing the surface during that window. Normal rain and weather contact is fine.